Author: Tyler Mashek
Valued for their durability and reliable shut-off capabilities, brass ball valves are integral components in countless fluid control systems. However, despite their robust design, they can encounter operational issues over time due to wear, improper installation, or system conditions. Understanding how to identify and resolve these common problems is essential for maintaining system integrity and efficiency. This article provides a technical overview of troubleshooting procedures for the most frequent issues associated with brass ball valves, ensuring you can restore optimal performance swiftly and safely.
A brass ball valve that fails to fully close presents a significant problem, as it cannot perform its primary function of stopping flow. This issue, often referred to as a "passing" valve, typically results from foreign debris lodged between the ball and the seat. Sediment, scale, or small particles from the fluid can become trapped, preventing the ball from rotating to the fully closed position and creating a complete seal.
To resolve this, cycle the valve by moving the handle from the fully open to the fully closed position several times. This action can sometimes dislodge minor debris. If this doesn’t work, isolate the valve from system pressure. Then, you can attempt to flush the valve by introducing a cleaning fluid or compressed air to clear the obstruction.
If the valve still doesn’t seat correctly, you may need to disassemble in order to manually clean the internal components. Inspect the ball and seats for scoring or damage, as these components may require replacement if cleaning doesn’t restore a proper seal.
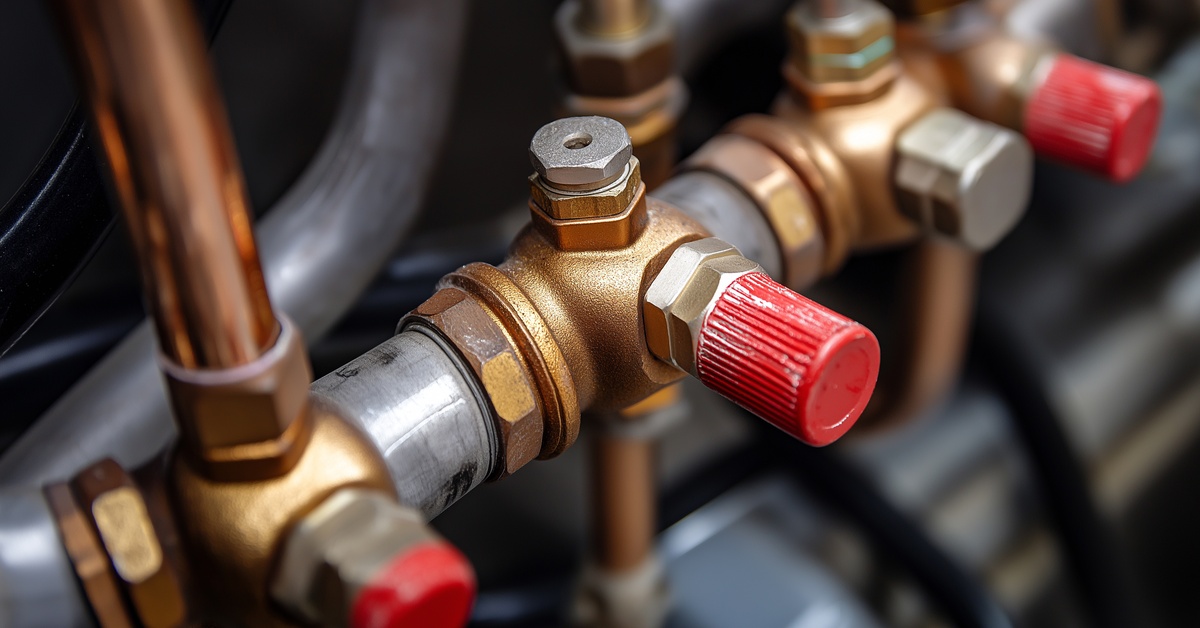
Leaks originating from the valve stem are common issues, often manifesting as slow drips or weeps around the handle. The root cause is typically the degradation or loosening of the packing material located in the stuffing box, which surrounds the valve stem. This packing creates a seal that prevents fluid from escaping along the stem as it rotates. Over time, the packing material can compress, harden, or wear out, compromising its sealing ability.
To fix a stem leak, you can first attempt to tighten the packing nut. This nut, which compresses the packing material, is located at the base of the handle. Using a wrench, tighten the nut in small increments, typically one-eighth to one-quarter of a turn at a time. Overtightening can make the valve difficult to operate or damage the packing.
If tightening the nut doesn’t stop the leak, you may need to replace the packing material. This requires isolating the valve, removing the handle and packing nut, and extracting the old packing. After cleaning the stuffing box, install the new packing rings, ensuring that the joints are staggered, and then reassemble the valve.
Leaks from the valve body itself indicate a more serious structural problem. These leaks often occur at the body joints where sections of the valve are screwed together. The cause may be improper assembly, cross-threading, or degradation of the thread sealant. In some cases, physical damage from impact or stress from misaligned piping can also cause body leaks. Another potential cause is porosity in the brass casting, although this is a manufacturing defect that’s less common in high-quality valves.
Troubleshooting and pinpointing the source of a body leak requires careful inspection. If the leak is coming from a threaded joint, you must depressurize the system and disassemble the valve body. Clean the threads on both components, and inspect them for damage. If the threads are intact, reapply a suitable thread sealant or PTFE (polytetrafluoroethylene) tape and reassemble the joint to the manufacturer's specified torque. If the body is cracked or shows signs of casting porosity, you must replace the entire valve.
A valve handle that’s stiff or difficult to turn can be a sign of several underlying issues. The most common cause is the buildup of scale, corrosion, or sediment within the valve's internal mechanism, which increases friction between the ball, seats, and body. This is particularly prevalent in systems with hard water or fluids containing particulates. Another reason could be overtightened stem packing, which creates excessive pressure on the valve stem. Infrequent operation can also lead to a stiff handle, as the components can seize over time.
To address a stiff handle, first check if the packing nut is too tight. Loosen it slightly and see if the handle's movement improves. If this doesn’t solve the problem, attempt to cycle the valve multiple times to break loose any internal deposits. If the valve remains difficult to operate, you may need to isolate it, disassemble it, and clean the internal components. Applying a silicone-based lubricant compatible with the system fluid to the stem and ball during reassembly can also improve operation.
Vibration or noise, often described as chattering or whistling, during valve operation usually points to a hydraulic issue within the system. High fluid velocity is a primary cause, as it creates turbulent flow that can cause the ball to vibrate against its seats. This condition, known as cavitation, occurs when the pressure of the liquid drops below its vapor pressure and forms vapor bubbles that collapse violently as they move into higher-pressure zones. This can rapidly erode the internal surfaces of the valve.
To remedy a noisy valve, you must address the system's hydraulic conditions. This may involve reducing the fluid velocity by lowering the pump speed or installing a larger diameter pipe. Ensure the valve is fully open during operation, as partially open ball valves create significant turbulence and are not designed for throttling. If the valve is used for flow regulation, replacing it with a more suitable valve type, such as a globe or needle valve, is the recommended solution. Inspect the valve for internal damage caused by cavitation, as you may need to replace components.
Many ball valves are bidirectional, but some are designed for unidirectional flow; these have a specific flow direction indicated on the body. Installing a unidirectional valve backward can lead to improper sealing, increased wear, or even trapping pressure within the valve body cavity when it’s closed. This trapped pressure can create a safety hazard.
If a unidirectional valve is installed incorrectly, the only solution is to isolate the section of piping, depressurize it, and reinstall the valve in the correct orientation. Always check the valve body for a flow arrow or other indicators before installation to prevent this issue. Following the manufacturer's installation guidelines is essential for safe, effective operation.
If you need something like a replacement brass shut-off valve in a pinch, we’ve got your back. Still, proactive maintenance and correct operational practices are the best strategies for preventing common brass ball valve issues. Regular inspection, proper installation, and selection of the right valve for the application will ensure reliable performance and extend the service life of these important system components. By understanding the causes of common failures, you can troubleshoot effectively and keep your fluid control systems running smoothly.


