Author: Tyler Mashek
Sewer cameras and locator tools take plenty of abuse on the job. Crews push camera heads through dirty lines, drag cables across rough surfaces, work around water and debris, and move equipment from one site to the next. Even durable equipment can develop problems when dirt, moisture, rough handling, and normal wear add up.
Regular maintenance helps crews protect their equipment and get more dependable results during inspections. A clean lens, sound push cable, charged battery, and properly working locator can make a noticeable difference when a crew needs to identify a blockage or trace a line. A few consistent maintenance habits can help keep these tools ready for the next job.
Cleaning should start as soon as the camera comes out of the line. Waste, grease, grit, and other debris can cling to the camera head and cable. Leaving that material in place gives it more time to work into connections and other vulnerable areas.
Follow the manufacturer’s cleaning instructions and use products that suit the equipment. Wipe down the camera head, cable, reel, and other surfaces that contacted the work area. Avoid aggressive chemicals unless the manufacturer specifically approves them.
A dirty or scratched lens can turn a good camera into a frustrating tool. Grease, mineral deposits, and residue can cloud the image and make small defects harder to see.
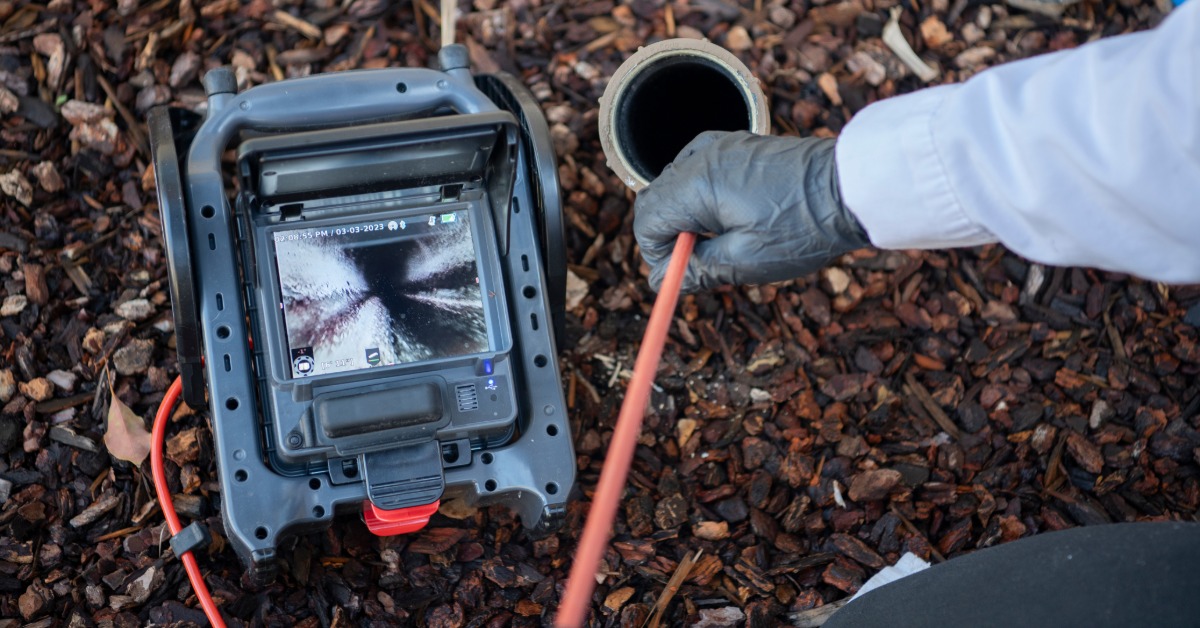
Clean the lens carefully with materials that will not scratch its surface. Inspect the lens cover for chips, cracks, or heavy scuffing while you work. Good image quality matters when crews use sewer inspection cameras to distinguish between roots, buildup, damaged pipe, and other problems.
The camera head often takes the first hit when the cable moves through bends, offsets, and obstructions. Check the housing for cracks, dents, loose components, and signs that moisture could enter the assembly. Also inspect any protective skids or guides that help center the camera.
Do not ignore small changes. A loose part or damaged seal can turn into a larger problem after another difficult inspection. Compare anything unusual with the manufacturer’s maintenance recommendations before putting the equipment back into regular service.
The push cable does more than move the camera through the line. It also carries critical connections, so cuts, kinks, flat spots, and excessive wear deserve attention. Run the cable through your hands as you clean it and look for changes in its shape or outer jacket.
Pay close attention to areas near the camera head and reel because repeated bending can stress these points. If the cable shows significant damage, follow the manufacturer’s repair or replacement procedure rather than trying to squeeze another job out of it.
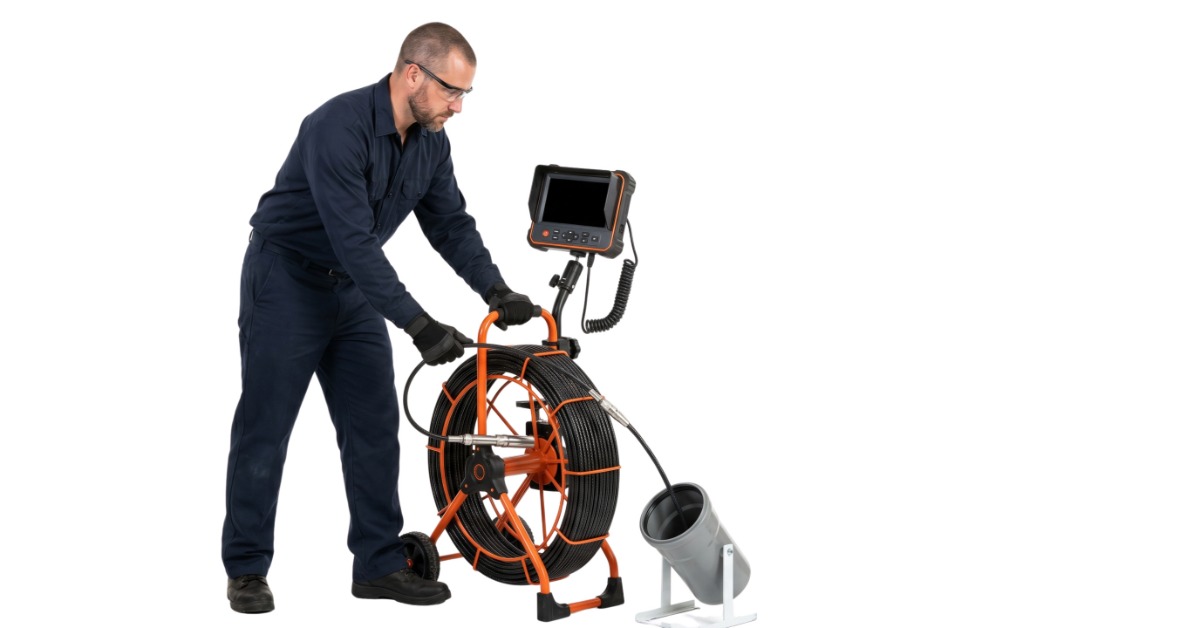
The reel controls the cable during deployment and retrieval, so dirt and poor cable placement can create headaches quickly. Remove debris from the reel frame, drum, guides, and other accessible components. Make sure the cable winds evenly instead of bunching up or crossing itself unnecessarily.
Check handles, latches, brakes, and moving parts for proper operation. If the reel feels different than usual, investigate before the next job. Smooth cable management reduces unnecessary strain and gives operators better control during an inspection.
Sewer work and moisture go together, but electrical connections still need protection. Check connectors, ports, plugs, and caps for water, dirt, corrosion, or physical damage. Dry and clean them according to the manufacturer’s instructions before storage.
Never assume a connection is fine just because the equipment worked during the last job. Moisture-related trouble can develop gradually. Keeping connections clean and protected can reduce intermittent problems that waste time in the field.
A camera or locator with a dead battery does not help much when a crew reaches the job site. Use the correct charger, follow the manufacturer’s charging practices, inspect charging cables, and keep battery contacts clean.
Watch for batteries that drain unusually fast, fail to charge normally, overheat, swell, or show physical damage. Remove questionable batteries from service and follow the manufacturer’s instructions for replacement and disposal. Before leaving the shop, confirm that every battery the job requires has enough charge.
A quick function check can catch problems while replacement equipment and chargers still sit nearby. Turn on the locator, check the display, verify battery condition, and confirm that buttons and controls respond normally. If the system uses a sonde or transmitter, test the complete setup according to its manufacturer’s procedure.
A pre-job check can include:
These checks take little time compared with stopping an inspection because one part of the locating setup does not work.
Locator tools can support different frequencies, modes, and sensitivity settings. The correct setup depends on the equipment and locating task. Operators should verify settings instead of assuming the previous job used the same configuration.
An incorrect frequency can prevent the receiver from detecting the intended signal properly. Follow the equipment manufacturer’s instructions and confirm that the transmitter, sonde, and receiver settings match the work you plan to perform.
Sondes and transmitters need the same attention as the locator itself. Check housings, battery compartments, threads, seals, and connection points for wear or contamination. Clean components before dirt works its way into areas that need a solid connection or tight seal.
Test signal output before sending a sonde into a line. If the signal seems weak or inconsistent, troubleshoot it while the component remains accessible. Recovering a problem device from a pipe creates a much bigger headache than catching the issue at the surface.
Good storage protects equipment during the hours or days when nobody uses it. Put cameras, reels, monitors, locators, and accessories in a clean, dry location that protects them from impacts and unnecessary temperature extremes. Follow manufacturer recommendations for battery storage and long-term storage conditions.
Do not toss wet equipment into a closed case and forget about it. Clean and dry the system first. Organize cords and accessories so connectors do not carry weight or bend sharply during storage.
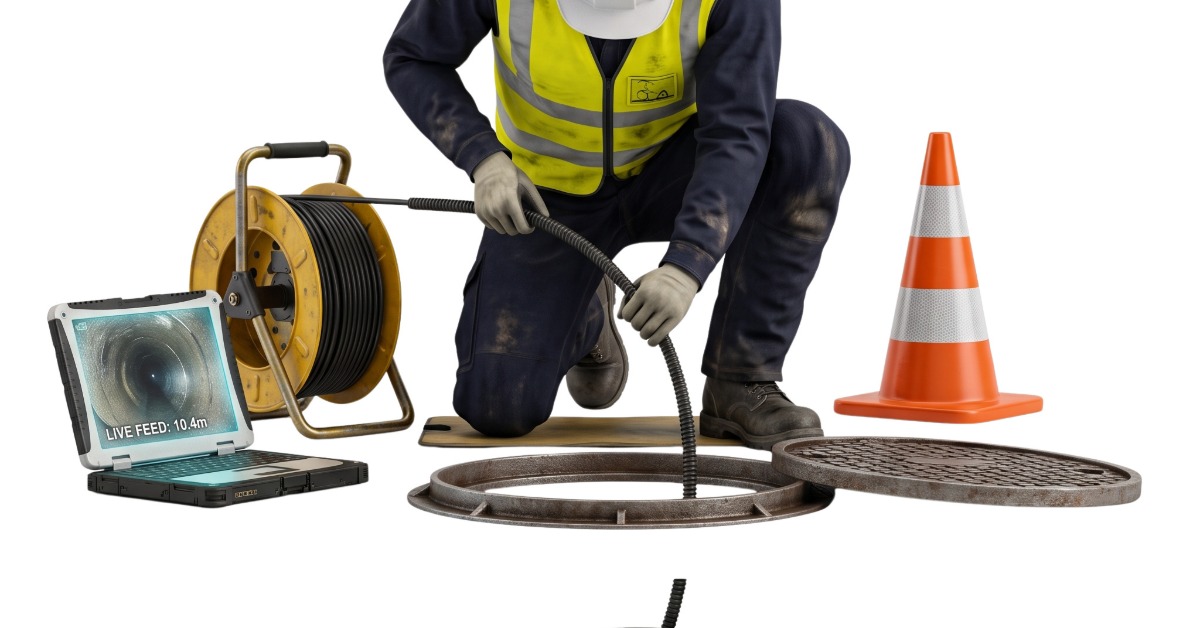
A simple maintenance record can help crews spot recurring problems. Note damaged cables, battery replacements, connector issues, repairs, and other service work. This information can show whether one component keeps causing trouble or whether a piece of equipment needs closer attention.
Records also help multiple operators stay on the same page. One person may notice a weak battery or stiff reel at the end of a shift, while another person grabs the equipment the next morning. Writing down the issue keeps useful information from disappearing between jobs.
Some wear only calls for cleaning or routine service. Other damage should take equipment out of service until someone can inspect or repair it properly. Cracked housings, exposed cable damage, unreliable electrical connections, damaged batteries, and signs of water intrusion all deserve prompt attention.
Avoid improvised repairs that conflict with manufacturer instructions. Sewer camera and locator systems combine electronics, cables, seals, and specialized components that need to work together. When a problem falls outside normal maintenance, follow the manufacturer’s approved service process or use a qualified repair option.
The easiest maintenance program to follow is one that becomes part of the normal job. Clean equipment after use, inspect it while cleaning, charge what needs charging, and test critical functions before the next inspection. Those habits help crews catch small issues before they create delays.
Well-maintained cameras and locator tools give operators a better chance of getting clear images, dependable signals, and useful information from each inspection. Treating maintenance as part of the job, rather than something to handle only after equipment fails, helps protect the tools crews rely on every day.